M2Slim Install Guide
Step 8: Reassemble PS2
Overview
These steps cover removing the plastic shell from the PS2 Slim's internals.
This is relatively straight forward but care should be taken to avoid scratching the console so make sure your work surface is clean.
Tools
Required:
Philips #1 screwdriver.
Step 8.1 Remove the screw covers
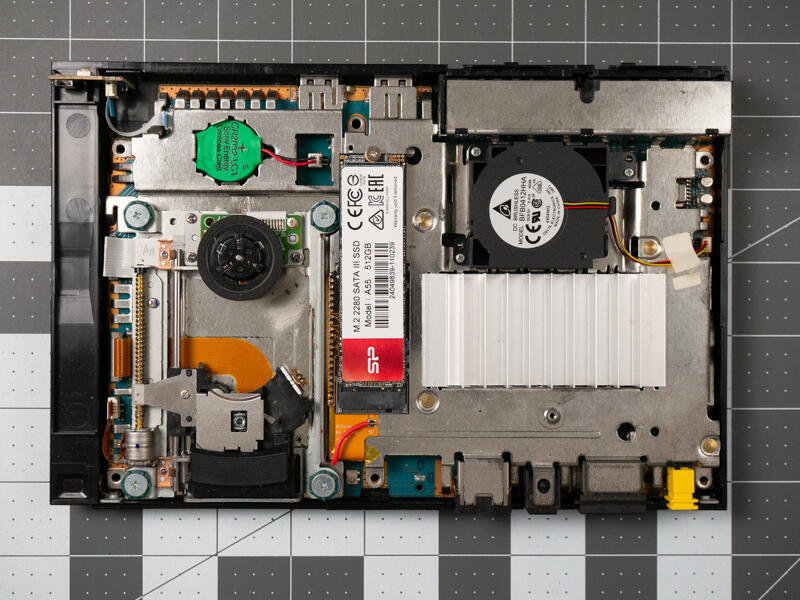
Place the internals back into the lower shell
Remember to reinstall the power button board
Double check that the fan and CMOS battery are plugged in.
Step 8.2 Install controller port screw
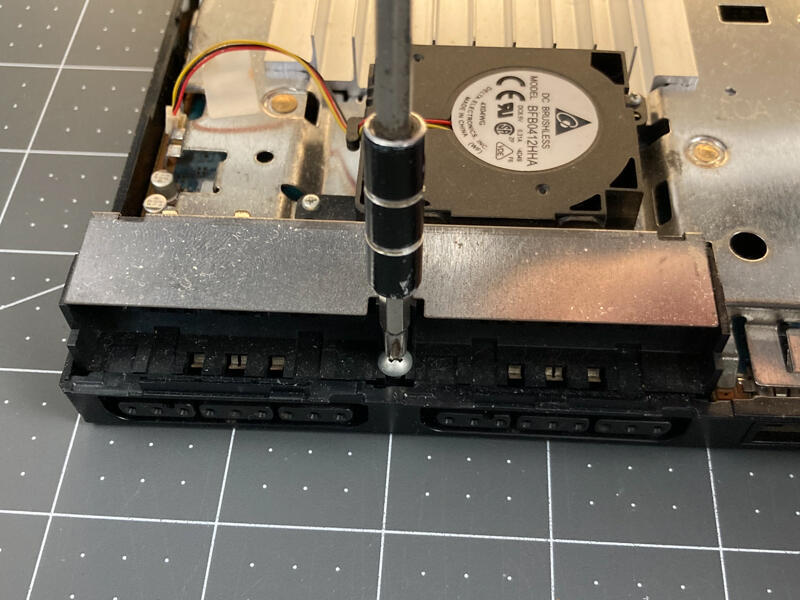
Install the controller and memory card port screw.
This screw has a rounded head and is shorter than the other case screws.
Step 8.3 Replace top shell
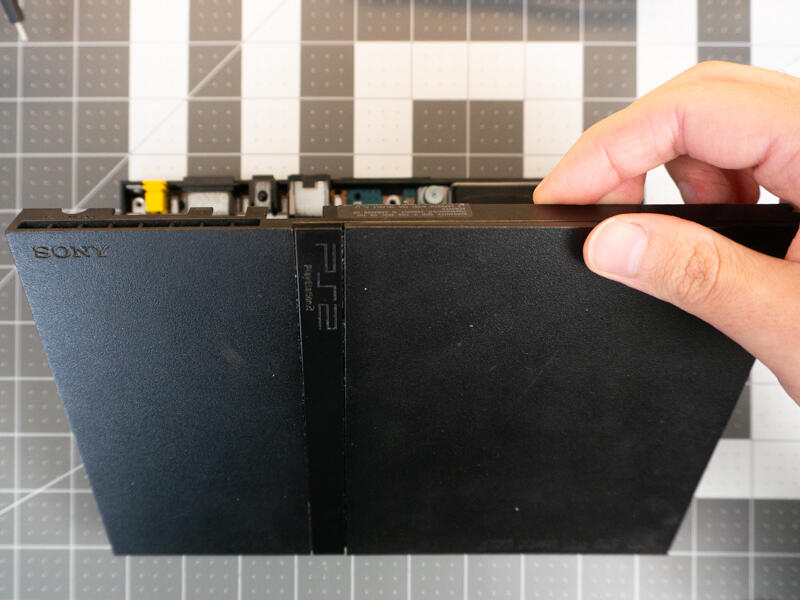
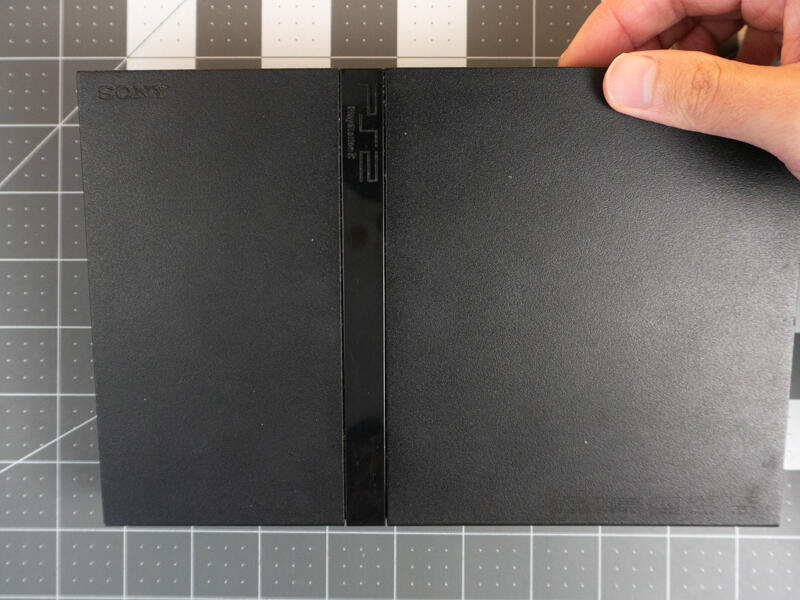
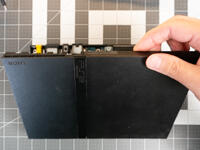
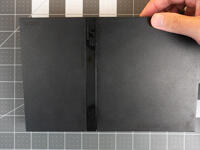
Hook the front edge of the PS2 top shell into place and pivot it into place.
Make sure the clips on the disk drive side (right in the picture) are latched.
Step 8.4 Flip over and install screws
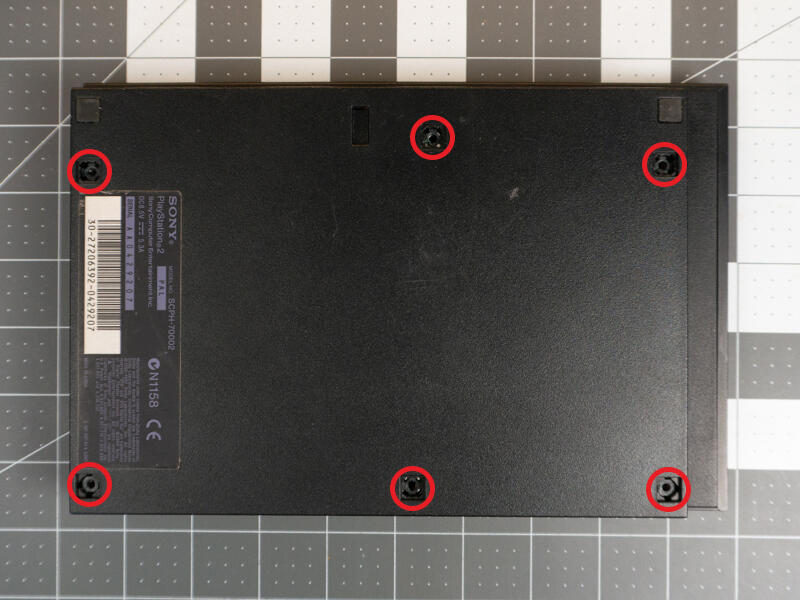
Flip the PS2 over.
Install the 6 self tapping case screws into place.
Step 8.5 Replace feet and screw covers.
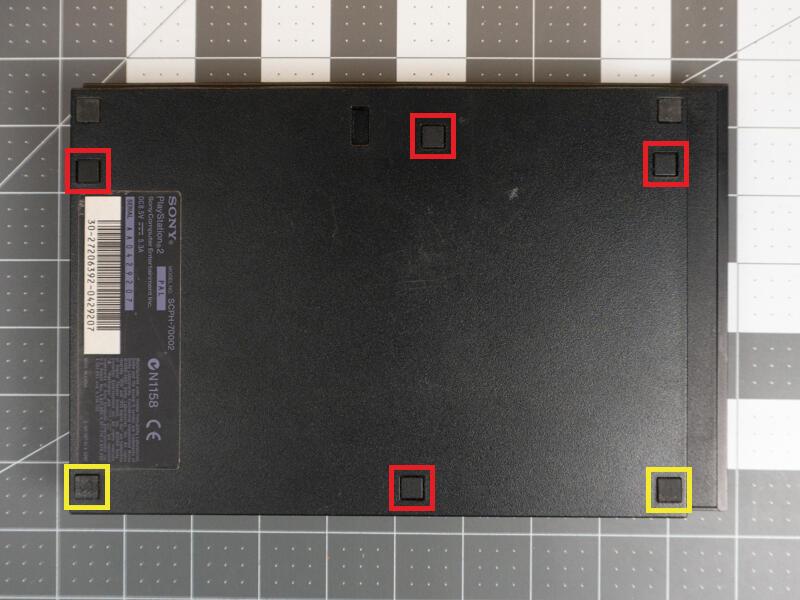
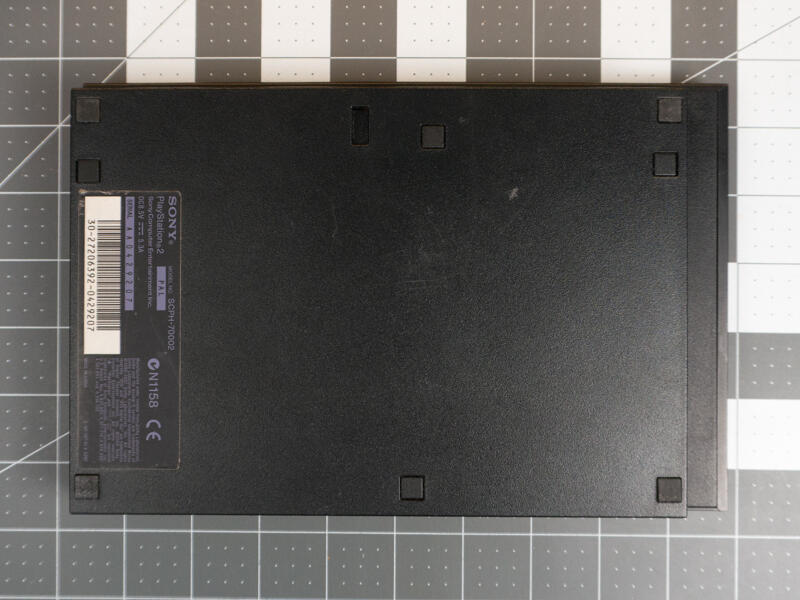
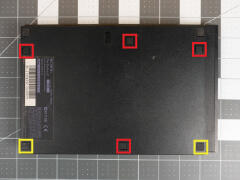
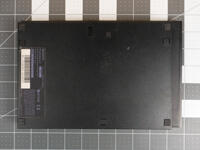
Insert the plastic screw covers into the 4 locations marked.
Place the rubber feet in the two rear corner positions.
Step 8.6 Finished!
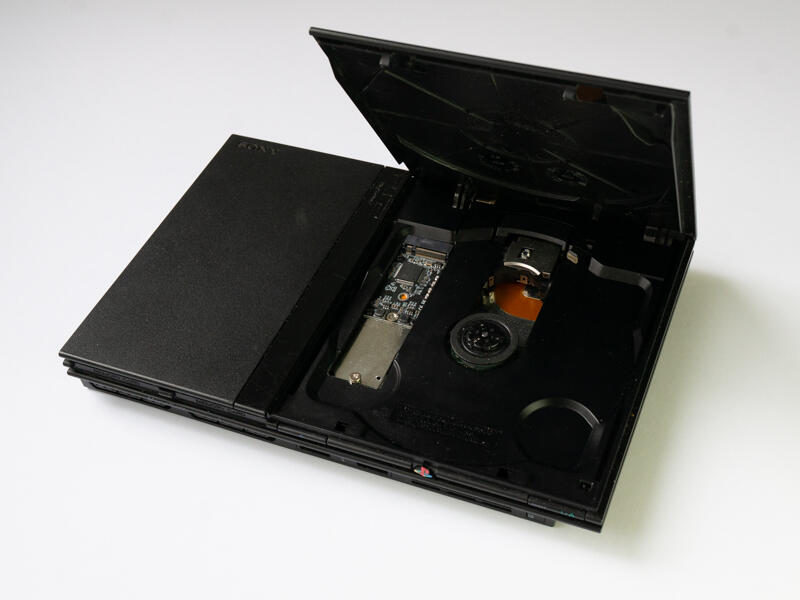
Congratulations on completing the install!